Getting Started with Hy, the Python Lisp: a Matplotlib example (ep. 1)
Hy is a Lisp dialect that combines the expressive power of Lisp with the convenience and extensive libraries of Python.
It's cool because it doesn't transpile in Python, but converts the code directly into its abstract syntax tree (AST), so interoperability with libraries is guaranteed, and you don't have to deal with an intermediate layer of Python code.
I won't deliver a long theoretical speech about the beauty of Lisp on this occasion. If you're already familiar with Lisp dialects like Emacs Lisp, Common Lisp, Clojure, or Scheme, this is the place for you. If you've never heard of Lisp, this is a good place to start exploring its fundamentals by working with code firsthand.
Installation§
First of all, we need to install Hy. Installing Hy is as simple as installing any library in Python.
pip install git+https://github.com/hylang/hy.git
The package provides a CLI tool for running Hy code by simply passing it the file name. Additionally, the package includes a terminal REPL that can be launched by entering hy in the shell, along with some other useful features. For comprehensive details, check hy --help.
It is also possible to install Hy in a virtual environment if you prefer not to directly touch the system. Assuming the reader is familiar with Python, I won't explain the process of creating and managing a virtual environment. Instead, we can proceed directly to the code.
Importing a library§
Imagine wanting to plot a simple series of points with Python. There are many libraries to achieve this, but Matplotlib is probably the most famous and widely used. So, the first thing we would write in Python is:
import matplotlib.pyplot as plt
Doing so, we would import the module pyplot from the library matplotlib and temporarily name it plt for brevity. In Hy, achieving the same result is straightforward: as in every other Lisp, each expression is enclosed in parentheses, with the first element acting as a function and the following elements as arguments. This simplicity makes the result quite intuitive.
(import matplotlib.pyplot :as plt)
Setting variables§
Here, we set the point coordinates. We do this in two lists: one for the x-axis and the other for the y-axis. In Python, we would have written:
x_values = [1, 2, 3, 4, 5]
y_values = [2, 4, 6, 8, 10]
In Hy:
(setv x-values [1 2 3 4 5])
(setv y-values [2 4 6 8 10])
As you can see, the variables must be set with the setv (set variable) function.
Unpacking values§
Now we aim to assign fig and ax simultaneously, conventionally denoted as fig and ax, which are returned by a method of plt called subplots(). In Python words:
# Create a figure and axis object
fig, ax = plt.subplots()
In other words, we have to master two operations: unpacking data from a function's return and executing a method.
Unpacking data is really simple, assign one list to another, ensuring equal values in both:
(setv [a b] [1 2])
;; (print a) => 1
;; (print b) => 2
It works with tuples too:
(setv [a b] (tuple [1 2]))
Calling methods§
Calling an object method is, also in this case, quite simple. You use the same (short) notation that distinguishes the call in Python: plt.subplots(). However, in this case, instead of placing parentheses after the term to clarify that we are invoking a function, we place them surrounding the function itself, like this: (plt.subplots). This is the lispy way.
Putting things together:
(setv [fig ax] (plt.subplots))
Now that the ax object has been created, we can call one of its methods to plot our values. This time, the method has arguments. In Python, we would write:
# Plot the data as a line plot
ax.plot(x_values, y_values)
Remembering that in every Lisp, the initial term within the grouping of parentheses assumes the role of the function, succeeded thereafter by the arguments, the same principale extends to methods, wich are -- indeed -- function themselves:
(ax.plot x-values y-values)
In this case, we may also want to specify a specific argument by name. We can do this by using a notation that should be familiar to us as it has already been seen in the import above.
(ax.plot x-values y-values :marker "o")
We are about to reach the conclusion.
Putting all together§
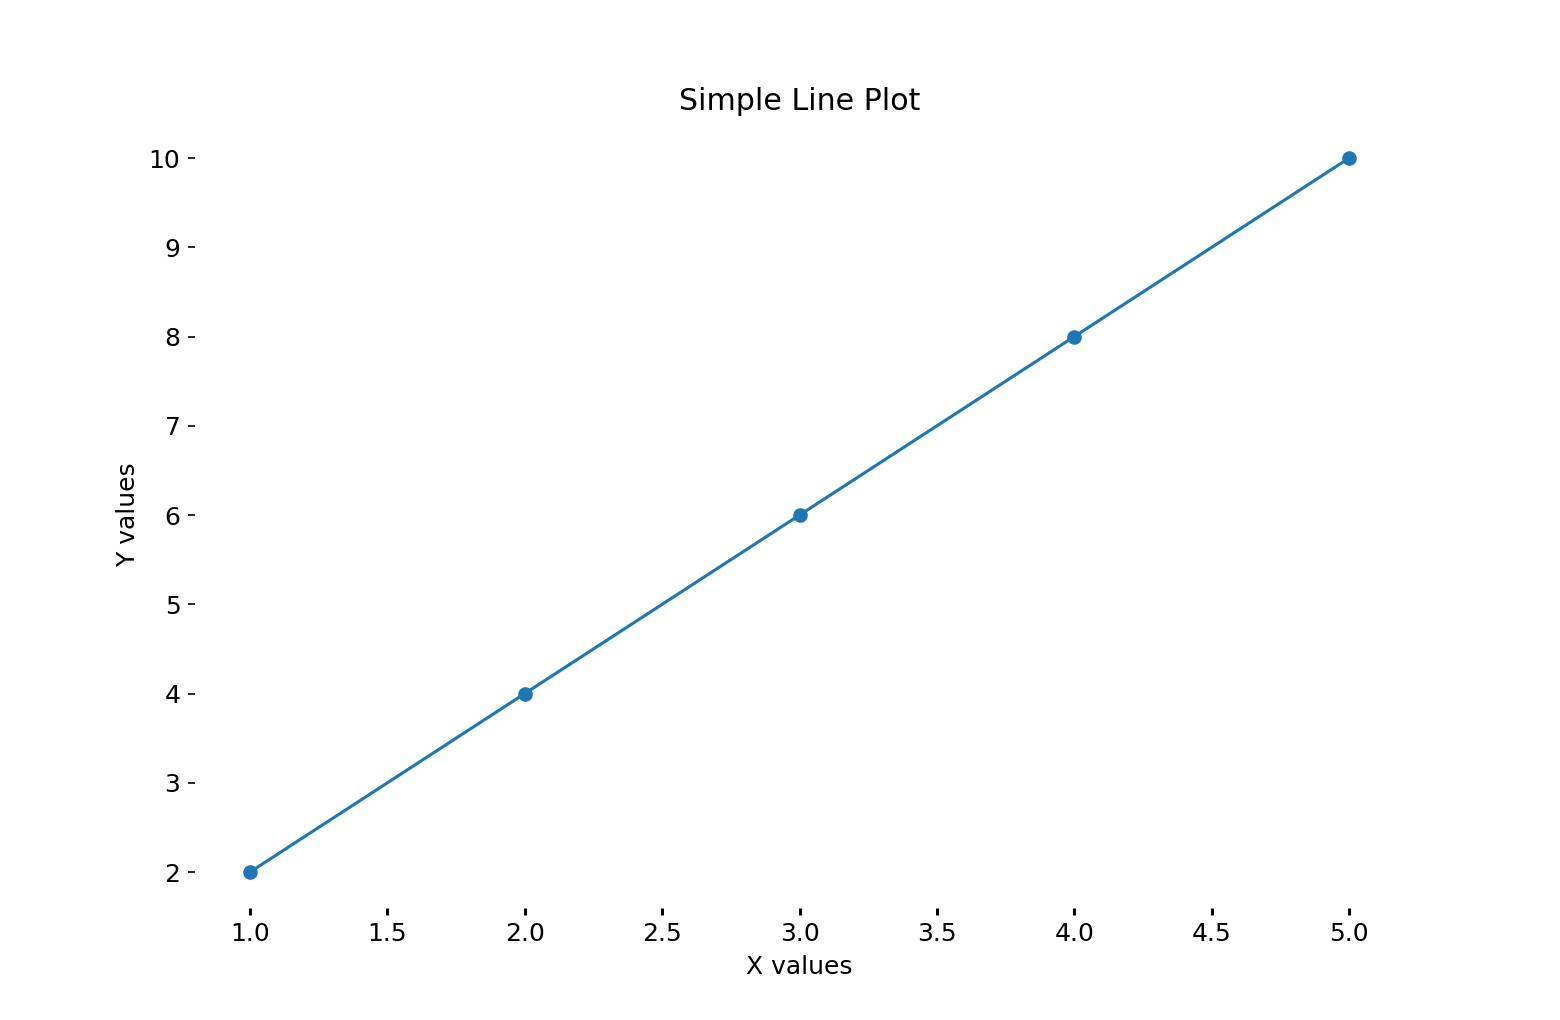
All that remains is to recall other methods of ax to define the labels and the title.
(ax.set-xlabel "X values")
(ax.set-ylabel "Y values")
(ax.set-title "Simple Line Plot")
Finally, let's gather all the code we have written and cap it with a savefig to admire our effort's fruit.
(import matplotlib.pyplot :as plt)
(setv x-values [1 2 3 4 5])
(setv y-values [2 4 6 8 10])
(setv [fig ax] (plt.subplots))
(ax.plot x-values y-values :marker "o")
(ax.set-xlabel "X values")
(ax.set-ylabel "Y values")
(ax.set-title "Simple Line Plot")

(plt.savefig "img/hy-plt-example.png")

Conclusions§
This first part was meant to be a gentle introduction for anyone, so I made sure to faithfully follow the style that would be adopted in Python. While switching to Hy may not immediately showcase its advantages, with patience, its benefits will become clear. In the next episode, we will code using a functional approach and then we will abstract the logic into a small macro. This will spare us from writing all the tedious boilerplate.
The second part will be published in the next few days on my dev.to profile and on my blog. Stay connected!
Did you find this post useful?
Remember that this website doesn’t make use of any trackers or analytics or adv so it doesn’t earn from your visits (moreover, it has a minimal environmental impact).
If you like this blog, refill my caffeine supplies by